Addressing Our Scapular Stabilizers
Developing Our Scapular Stabilizers to Prevent Shoulder Injury.
What constitutes a shoulder joint that is prone to injury? Could it be weak rotator cuff musculature? Maybe it is joint laxity and instability? What about capsular restrictions or the work we do on a regular basis? Or, is it possible that weak scapular stabilizers could play a role in shoulder injury?
The answer is, all of the above reasons could contribute as the cause of a shoulder injury. Although shoulder injuries are often complex, many do happen to be related to one common problem: weak muscles that support the shoulder blades, otherwise known as scapular stabilizers.
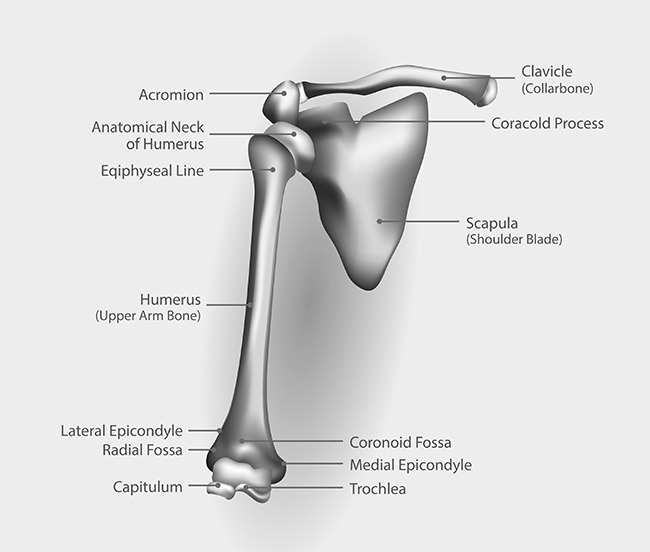
The scapula (shoulder blade) is a very involved structure of the body. Not only does this bone articulate with the humerus (upper arm bone) and clavicle (collar bone), it is also the attachment site for many muscles in the shoulder itself, as well as the back, the chest, the arm, and even the neck. It is therefore easy to comprehend how a weakness in this area could affect many others in the body.
The muscles that attach on the medial (inside) aspect of the scapula are the key muscles for scapular stabilization. These include the middle trapezius and lower trapezius, rhomboid major, and rhomboid minor, and serratus anterior. The middle trapezius and rhomboid muscles function to retract the scapula. Scapular retraction is the action of squeezing your shoulder blades together. The lower trapezius takes care of scapular depression which is drawing the scapula down the thorax. The task of serratus anterior is to hold the scapula’s medial border tight to the thorax.
Many of these weaknesses are actually observable. When the lower trapezius muscle is weak, a flaring of the lower scapula exists. When the serratus anterior is weak, the medial border of the scapula flares. Weakness of the middle trapezius and rhomboid muscles contributes to a separation of the scapulae, also known as protraction.
It is therefore the job of these muscles to hold the scapulae tight to the thorax. If the scapulae are not held firmly by strong muscles, they are left free to flare and flop with arm movements. Without stability at the scapula, how is it possible for the glenohumeral joint (shoulder joint) to remain stable? It isn’t.
Scapular instability leaves the glenohumeral joint (GH joint) at risk of injury as the GH joint requires both strength and endurance of scapular stabilizers for it to be protected. The stability of the GH joint cannot come from the humerus since the arm does not have anything to stabilize from; it has no anchors. However, the scapula attaches to the axial skeleton of the body (a fantastic anchor) and therefore can generate stability from the thorax. Strong scapular stabilizers have been proven to defend the GH joint from injury.
Once these weaknesses are identified via observation of functional movements and muscle testing, exercises must be incorporated into one’s daily schedule in order to prevent or rehabilitate shoulder injuries. Many of the exercises used to target such muscles are very intricate in their movement patterns and look fairly easy. Often, the first time patients see these exercises performed, they expect them to feel simple. However, as soon as they attempt one repetition themselves, they recognize how weak their stabilizers actually are and appreciate the need for such training.
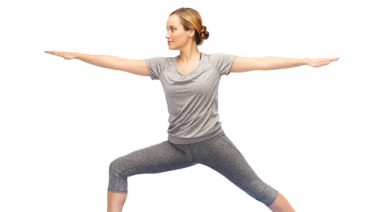
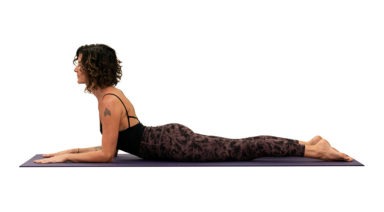
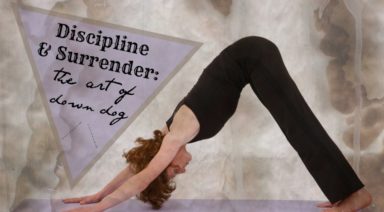
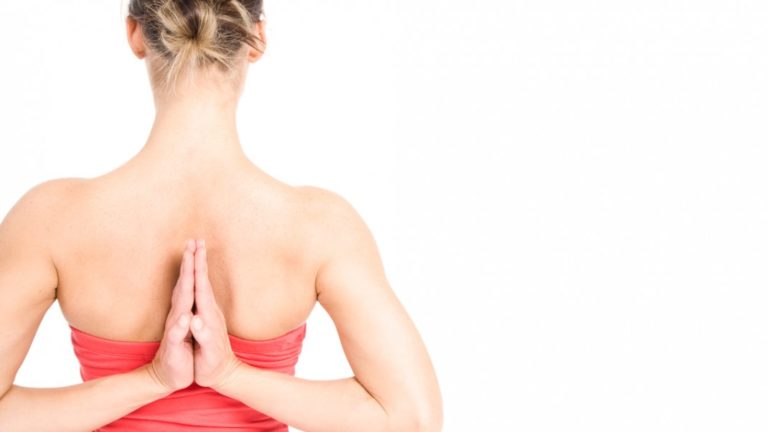
Typical yoga posture focuses heavily on scapular retraction and depression. Yoga brings these movements into everyday life. If you meet a yogi, their scapulae will be retracted and depressed. Their shoulders will not be around their ears like the rest of the population who carry their tension in their upper trapezius muscles and levator scapulae. Simply applying these two movements to your daily activities will prove beneficial. However, to truly protect the GH joint from injury, more intensive exercise is required.
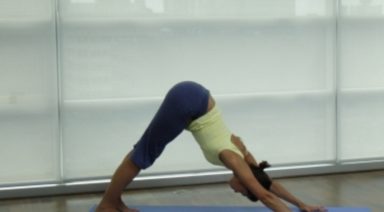
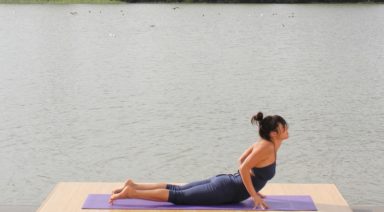
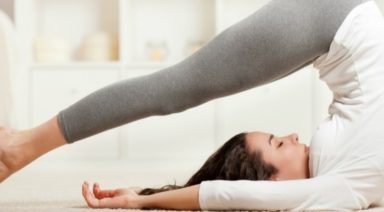
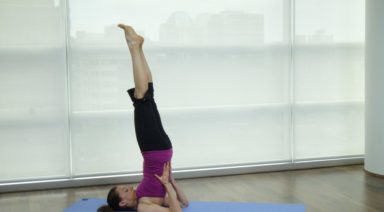
Yoga, single-handedly, can not target each of the scapular stabilizers appropriately, unless modifications are made to poses or practices. For example, by the addition of scapular protraction to plank pose, the serratus anterior muscle could be optimally targeted. Many of the movements designed to pursue the scapular stabilizers are very specific. Feedback from a health care professional or yoga instructor is ideal when attempting to understand these movements.
Bring attention to these muscles in your back. The benefits you will gain from strengthening these muscles are plentiful. Whether you are a parent who is constantly picking up children, a housewife who places the dishes in the top cupboard, or an athlete who is involved in sports with overhead movements such as tennis, volleyball, or climbing, scapular stabilization is essential in preventing shoulder injuries.
About the Author

Yoga Anatomy: Reducing Shoulder Impingement

![]()
![]()
Our wonderful shoulders are the most mobile joints in the body and, for anyone who has done any amount of Hatha Yoga flow, we can appreciate how much the shoulders are engaged and challenged in our practices. Given how frequently we load and stress the shoulders in yoga, it is ideal to move the shoulders with intelligence, mindfulness, and attentive care. One aspect of mindful movement and engagement is reducing the onset of shoulder impingement.
Our shoulder joints are made from a ‘ball and socket’ design. The upper arm bone (humerus) has defined structures at its proximal end (closest point to the center of the body). At the proximal end of the shaft, we see that the humerus has boney processes (called tubercles where tendons attach). Moving towards the shoulder joint, the humerus has a neck that transitions into a ‘head’ or the ball portion of the joint. The humeral head inserts into the socket (glenoid fossa or cavity) forming this highly moveable joint. The socket is part of the shoulder blade (scapula bone). There is another part of the shoulder blade with a boney projection called the acromion process which is positioned above the humerus. You call feel the acromion process on yourself by taking one hand over and to the back of the shoulder blade. Run your fingers along the shoulder blade to find a horizontal line of bone – this the spine of the scapula. Run your fingers all the way to the end into your shoulder – where this ends is your acromion process.
Between the acromion process and the tubercle region of the humerus is the ‘subacromial space.’ This is where our attention goes regarding shoulder impingement considerations. Deep above the spine of the scapula runs one of your rotator cuff muscles (supraspinatus muscle), which has its tendon traveling through the subacromial space and attaching onto the greater tubercle of the humerus. To offer some protection to this tendon, there is a small sac of fluid (bursa sac) between the tendon and the acromion process.
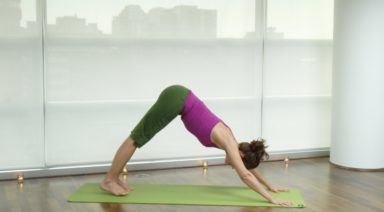
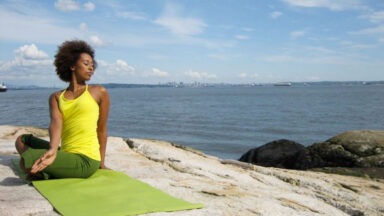
When we stand in Mountain pose (arms relaxed), there is ample space in the subacromial space for the supraspinatus tendon and the bursa sac. When we lift our upper arm bone outwards (abduction) or towards certain angles of significant forward movement (flexion), the humerus closes into the subacromial space. For some people, due to bone structure and reduced subacromial space, they are more prone to having the tendon and/or bursa sac being compressed and stressed (aka shoulder impingement). With frequent compression, the tendon and/or bursa sac may develop conditions of inflammation. As with any acute or chronic development of shoulder impingement conditions, you will want to consult a qualified health professional for proper assessment and therapeutic treatment.