High Blood Pressure and Inversions

The practice of Yoga poses (Hatha Yoga) offers tremendous health and wellness benefits, but certain health conditions require important modifications and omissions of specific asanas. High blood pressure is a serious health condition that generates many possible contraindications especially in Yoga postures that invert the head below the level of the heart.
High blood pressure (or hypertension) is the occurrence of abnormally high arterial blood pressure at resting state. High blood pressure can result from a variety of factors but is commonly associated with atherosclerosis (a common arterial disease in which raised areas degeneration and cholesterol deposits form on the inner surfaces of the arteries), poor dietary habits, lack of physical activity, and high proportions of body fat.
High blood pressure is a result of arteries having poor blood flow. This resistance to flow requires the heart to pump more vigorously in order to circulate the blood (oxygen and nutrients) to all the cells of the body. This extra effort placed on the heart has a wearing effect on heart tissues and places a greater amount of fluid pressure against the walls of blood vessels.
How Does High Blood Pressure Affect Yoga Poses?
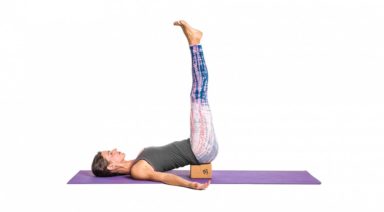
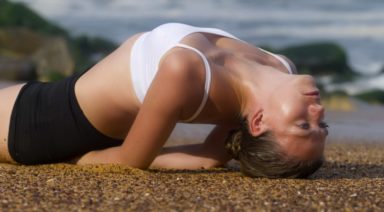
When we invert the body such that the head is below the level of the heart, there is a tendency for blood to pool into the head. This pooling of blood into the head greatly increases when one also elevates the lower body and legs above the level of the head. When we do Yoga poses and other forms of exercise, there is an increased demand for oxygen by muscle cells.
The way that the body meets this increased demand for oxygen is by increasing heart rate and blood flow. So if we invert or place the head below heart-level during Yoga poses and other exercises, not only is there a pooling of blood in the head, there is elevated blood flow and pressure coming into the cranial region.
Normally, the body is adapted to handle blood pooling and mild pressure in cranial blood vessels. But if one already has elevated blood pressure at resting states, the sudden inversions in Yoga can add to the elevated blood pressure, thus generating pressure that is enough to damage delicate blood vessels in the brain. In severe cases, high blood pressure combined with inversions may cause blood vessels to hemorrhage.
Another area of awareness required, when high blood pressure is present, is the process of breathing. When one holds the breath while doing heavy exertion, blood pressure dramatically increases. This contraindicating effect is called the Valsava Maneuver. Many people are familiar with hearing fitness trainers saying “breath out” during the exertion stage of an exercise repetition.
Again, this breathing pattern not only keeps a steady flow of oxygen moving to the tissues but also has physiological benefits in preventing negative pressure occurring in heart and brain tissues. Therefore, when one has high blood pressure, holding the breath in Yoga poses or holding the breath in specific pranayama (breathing exercises) should be avoided.
If you have concerns about having high blood pressure, consult your physician. If you are diagnosed with high blood pressure, make certain you tell every Yoga teacher with whom you practice. Your Yoga teacher can then offer the appropriate modifications and variations in Yoga postures and pranayama.
Poses to Avoid When One Has High Blood Pressure
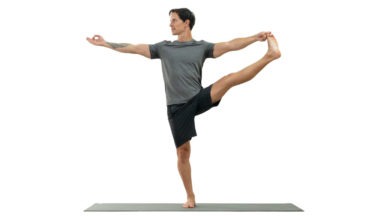
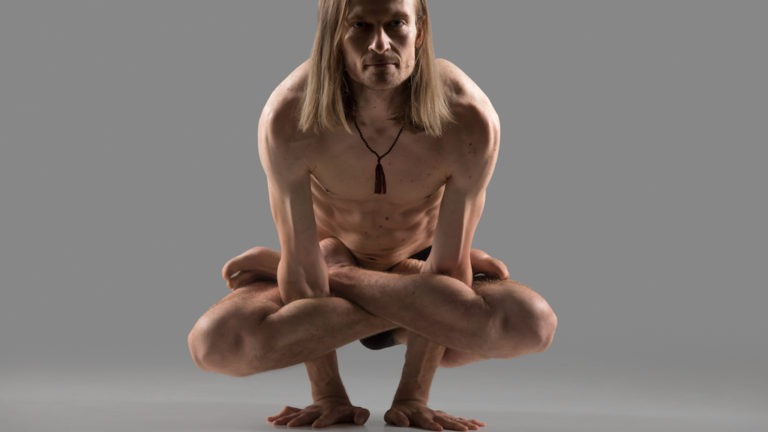
In simple terms, avoid Yoga poses that position the head below heart level especially when the practice or pose is vigorous. Here are examples of complete and partial inversions:
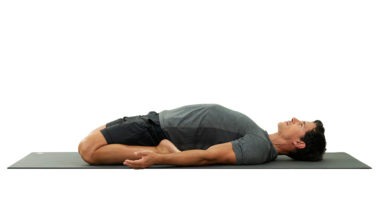
- Salamba Sarvangasana (Shoulder stand)
- Shirshasana (Head Stand)
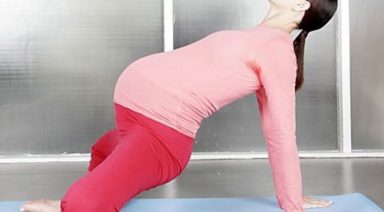
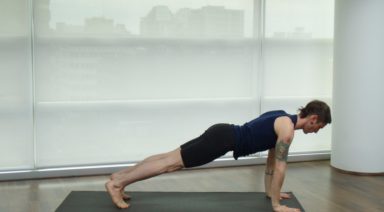
- Adho Mukha Svanasana (Downward-facing Dog)
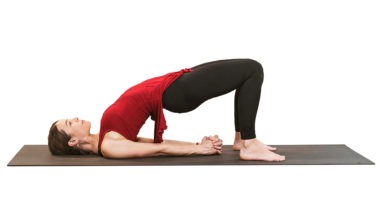
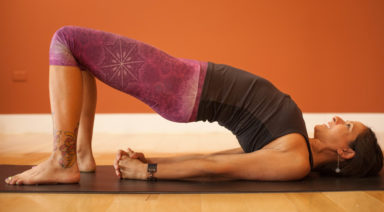
- Setu Bandhasana (Bridge or Spinal Lift pose)
- Uttanasana (Standing Forward Bend)
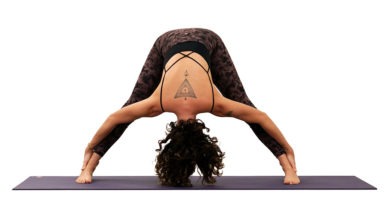
- Prasarita Padottanasana (Wide Leg Standing Forward Bend)
Having high blood pressure should not prevent one from doing Yoga. By understanding the degree of the health condition and by following the recommendations of physicians, one can still have a fulfilling Yoga practice with a wide range of Yoga poses.
About the Author
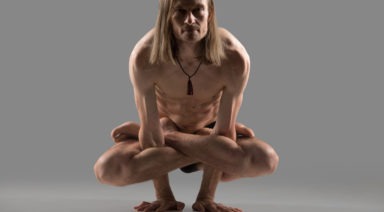
Defining Yoga Asanas
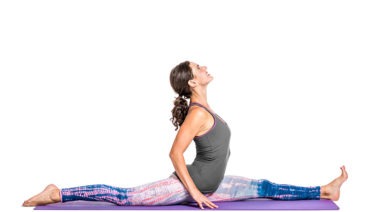
The Sanskrit word asana translates into seat in English, but if you say the word to yoga practitioners, all the postures and stretches they know will flash through their minds. Patanjali’s Yoga Sutras simply define asana as a “steady, comfortable posture,” which could be any shape.
In modern yoga context, an asana refers to a physical pose i.e. balasana (child’s pose) or trikonasana (triangle pose).
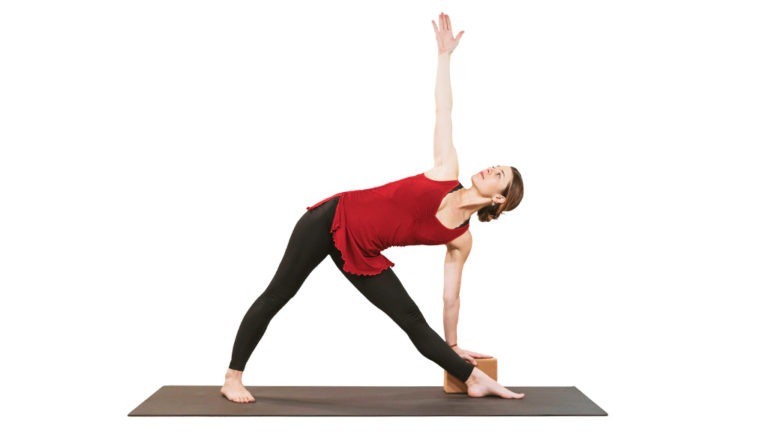
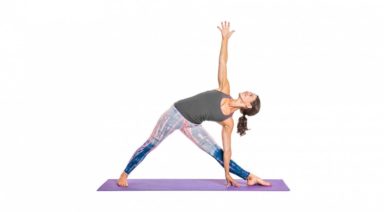
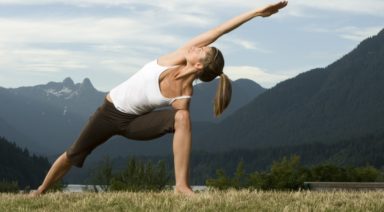
Trikonasana (triangle pose)