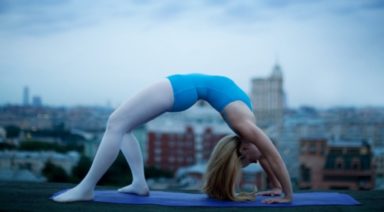
Legs-up-the-Wall | Yoga Pose
ADJUSTMENTS | BENEFITS | CONTRAINDICATIONS | MANTRA | MUDRA | PREP POSES | SANSKRIT | STEPS | TIPS
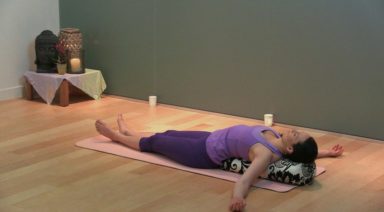
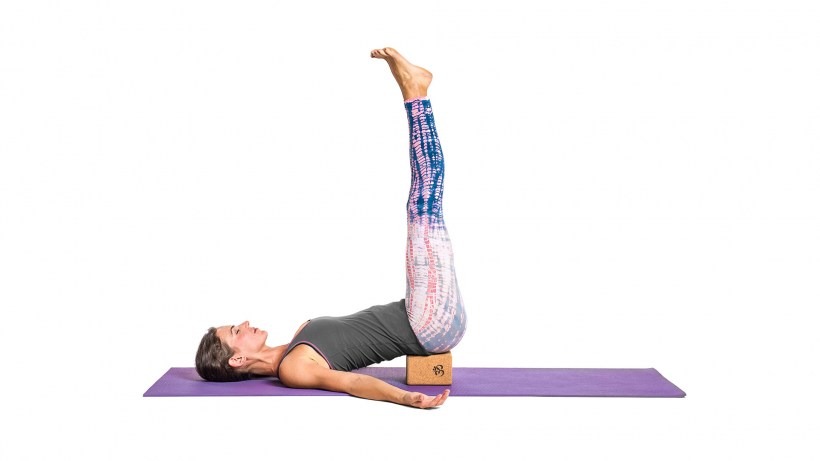
Viparita karani (vip-par-EE-tah car-AHN-ee), or legs-up-the-wall pose, is a restorative inversion that can ease the mind and relieve painful symptoms such as tension and cramps. Many people enjoy this pose using props — you may want to have a pillow, bolster, or folded blanket nearby.

ADJUSTMENTS/MODIFICATIONS:
- This pose may be enjoyed using props like a pillow, bolster, or folded blanket under your hips.
- To stretch your inner thighs and groin muscles, let your feet fall out to the sides so your legs make a wide “V” shape.
- If you neck is sore, place a rolled up blanket under your neck or a pillow under your head.
CONTRAINDICATIONS AND CAUTIONS:
Although this is a mild, restorative posture, it is still considered an inversion. While many teachers recommend legs-up-the-wall pose as a therapeutic posture, please check with your doctor if you are experiencing any of the following:
- Menstruation
- Pregnancy
- Glaucoma
- High Blood Pressure
TIPS:
Use a blanket or pillow under your hips to release any tension in the lower back.
Place a blanket on the soles of your feet for a grounded sensation.
No wall? Place a block or blanket under your hips and stretch your legs up to the sky, finding a place where your legs feel almost weightless.
STEP BY STEP:
- Find an open wall space. Start seated beside the wall, with shoulder and hip touching the wall. On an exhale, gently lie down on your back and pivot yourself so that the backs of your legs press against the wall and the bottoms of your feet face upward. You may need to wiggle around to find your way into this position.
- With your sitting bones pressed up against the wall, or slightly away from the wall, rest your back and head on the floor; this will form an approximate 90-degree angle with your body.
- If you find this position uncomfortable in any way, or just wish for extra cushion, you can use your prop here. By pressing the bottoms of your feet into the wall, lift your hips slightly, and slide your prop underneath your hips.
- Let the back of your head feel heavy with your neck in a neutral position. Soften your face and your throat. Let your hands rest face-down on your belly or face-up along the sides of your torso. Close your eyes and breathe deeply through your nose.
- Stay here for anywhere from five to 15 minutes. To come out of the position, push the bottoms of your feet into the wall and lift your hips slightly. Remove your props. Gently roll to one side for a few breaths before returning to your seat.

PREPARATORY POSES:
Viparita Karani is usually a restorative pose, performed near the end of a practice, but it can easily be practiced as a pose by itself. Preparations include:
- Bridge pose | Setu bandha sarvangasana
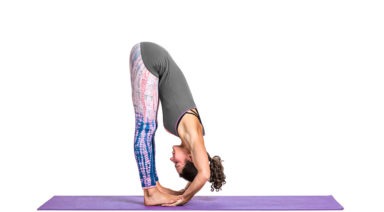
- Standing forward fold | Uttanasana
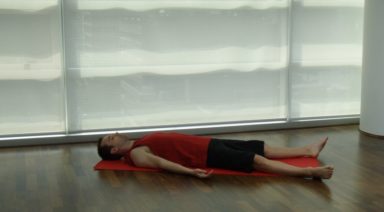
FOLLOW-UP POSES:
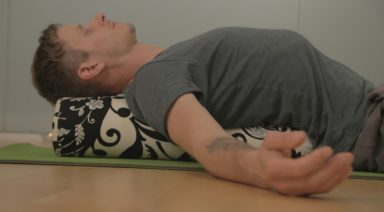
- Savasana
SANSKRIT:
- Viparita: reversed/inverted
- Karani: doing/action
- Asana: pose
PHYSICAL BENEFITS:
- Offers relief from symptoms of arthritis, headaches, high/low blood pressure, and insomnia.
- Eases symptoms of PMS and menopause.
- Relieves tired, cramped feet and legs.
- Gently stretches the hamstrings, legs and lower back.
- Relieves lower back pain.
ENERGETIC BENEFITS:
- Calms the mind.
- Eases anxiety and stress.
MANTRA:
“RA MA DA SA SA SAY SO HUNG”
A well-known mantra used to stimulate the body’s natural ability to heal itself, this mantra connects us with the healing abilities of the earth and universe at large. Reciting this mantra can help strengthen the immune system while calming the nervous system, easing you into a calm state of healing. It also represents the strengthening and healing of the mind and emotions.
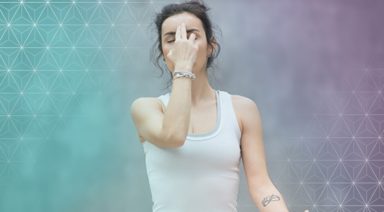
MUDRA: SURYA MUDRA
Surya mudra (gesture of the sun) represents life, rejuvenation, and health. Bend the ring finger to the palm and place the thumb on top of the ring finger.
Benefits:
- Helps the digestive organs and relieves indigestion.
- Holistically boosts metabolism.
- Gives revitalized energy and strength to the nervous system.
- Sharpens the center within the thyroid gland.
- Relieves symptoms of anxiety.
Legal Disclaimer Before participating in any exercise program or using any fitness products or services that may be described and/or made accessible in or through the Gaia Website and/or the Services, you should consult with a physician or other healthcare provider. Read more about Gaia’s Terms Of Use.


About the Author
Defining Yoga Asanas
The Sanskrit word asana translates into seat in English, but if you say the word to yoga practitioners, all the postures and stretches they know will flash through their minds. Patanjali’s Yoga Sutras simply define asana as a “steady, comfortable posture,” which could be any shape.
In modern yoga context, an asana refers to a physical pose i.e. balasana (child’s pose) or trikonasana (triangle pose).
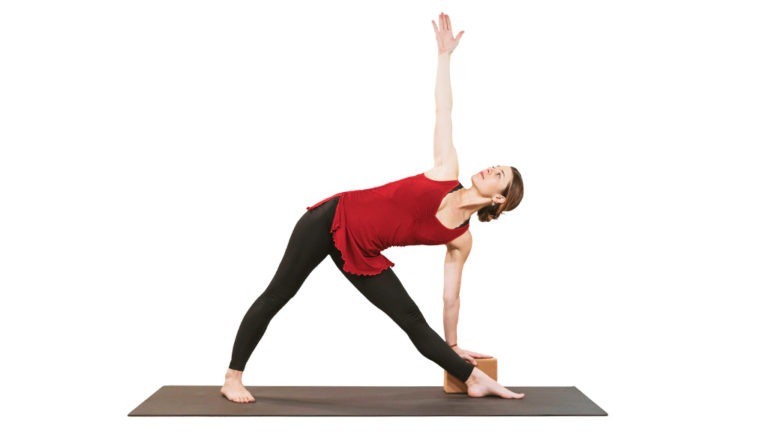
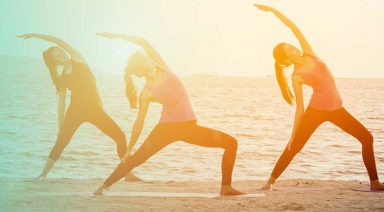
Trikonasana (triangle pose)