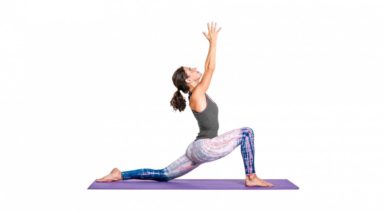
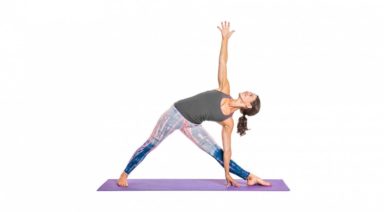
Open Your Pelvis: Deep Straddle, Front Splits in Yoga
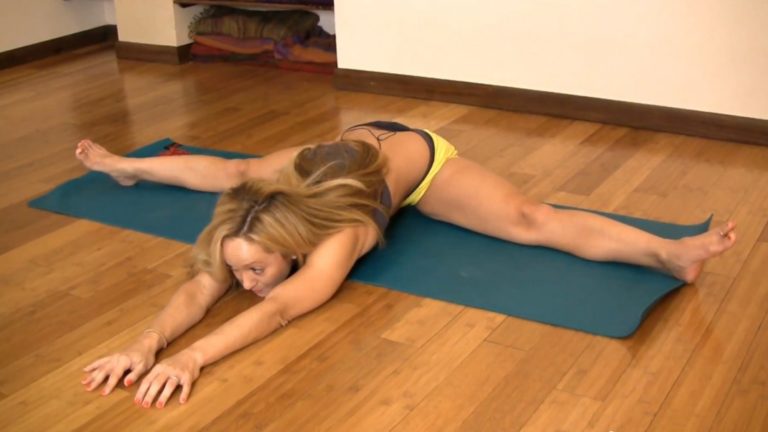
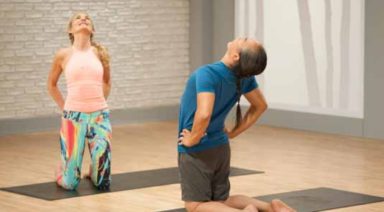
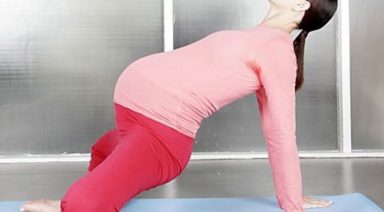
I grew up in the 1980s in the U.S.A. and one of my first fitness memories was of the “Thigh Master”. This invention was sold as toning the thighs and giving a sleek looking leg to the user. The exercise had the result of tightening the inner thigh muscles. Without much technical instruction the do-it-yourself home workout junkie would just squeeze the inner thighs muscles, including the Adductors, Gracilis and Pectineus. When I started practicing yoga the one area of serious tightness that I found on my body was my inner thighs. When your inner thighs are tight and over worked it can restrict healthy inward and outward rotation of the hip joint. In the yoga practice we rely on a healthy range of motion in the hip joint to practice most of the postures. Yoga practitioners who find their inner thighs a little tight need to take the time to understand how to soften and release this tender area in order to practice safely.
The thighs form the gateway to the pelvis and opening the muscles along the thighs takes patience, humility and good alignment. Between the hamstrings, the quadriceps and the inner thigh muscles, the upper legs create a solid protection for the pelvis. In yoga you practice how to let go of all unnecessary protection so that the body can relax. In essence flexibility is about laying down the armor of the body so its natural state of peace and harmony can be revealed. That’s easier said than done.
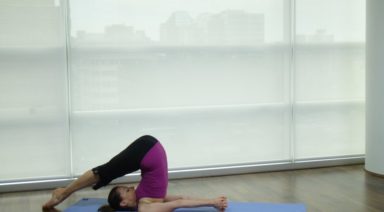
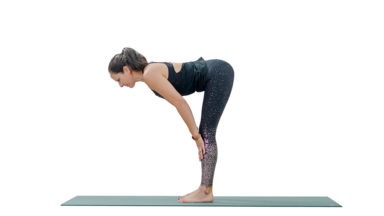
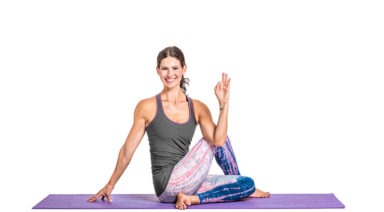
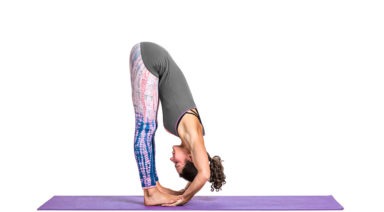
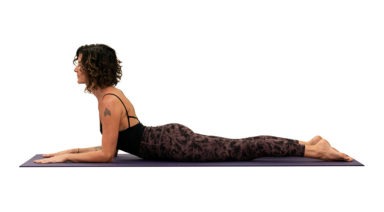
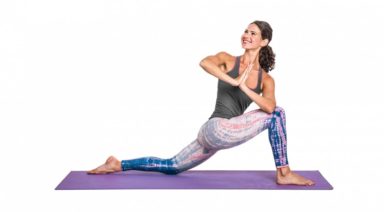
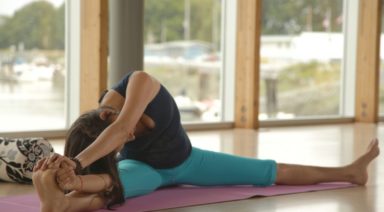
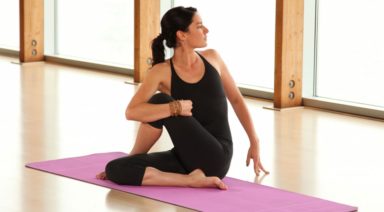
When I first started attempting to deepen my front splits I realized that my inner thighs were blocking the pathway. This is a sensitive area to work with in the body that cannot be rushed. In the Ashtanga Yoga Primary Series many students who are eager to open their inner thighs in postures like Upavistha and Supta Konasana end up creating injury out of their enthusiasm. As a teacher I strongly encourage students not to push themselves too hard while in these postures. Eager students will sometimes grab hold of their feet and attempt to force their torso down to the floor between their thighs. But without waiting for the body to relax and release its protection, the tightness around the thighs cannot release and they only end up making their body tighter. In the worst-case scenario that I have witnessed, a student injures their hamstring or inner thigh attachment around the sitting bones while attempting to go deeper. This can all be avoided if you work patiently, surrender the go and apply healthy alignment principles while working the yoga postures.
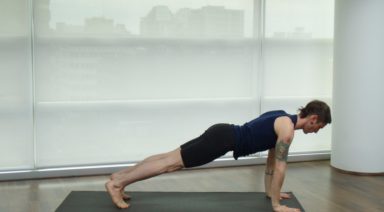
In the yoga practice, we cannot control when the body will release and open. All we can do is show up each day and practice while letting go of the need to get any particular result. The openings and transformations that happen through yoga practice occur because we surrender ourselves to the divine and in that grace we experience our natural freedom. There is no way to rush that process. But I know first hand how frustrating it can be to turn up every day on your mat and not feel like there is any improvement. When I work with front splits I get impatient and want to hurry along the tedious journey of softening an area of tightness. If you are also working on front splits this video will help you find a safe path to opening the inner thighs.
About the Author

3 Exercises to Strengthen Your Hips and Balance Your Body

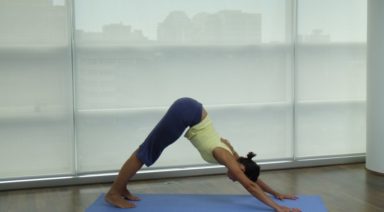
In yoga we often speak of tight hips, needing to open the hips, balancing the opening of our hips from side to side (etc), but there is more to a balanced body than open hips. We also need stability and support from our hips. This is important not only in yoga but also in day-to-day activities like simply walking. It is especially important if you are an athlete and need to perform on one leg.
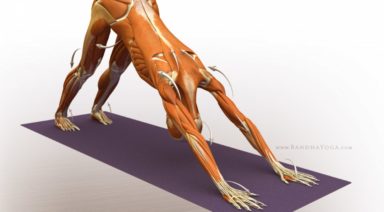
A Look Inside the Hip Our hip musculature is made up of many muscles, large and small. For stability, we need the muscles of the side of the hip to be active and engaged. If you place your hands on the sides of your bony pelvis below your waist, you can imagine a tear-drop-shaped area below the ridge of your pelvis. The front part of the tear is the Tensor Fasciae Latae or TFL which connects with your IT band to join at the knee. At the back part of the teardrop are the Gluteus Medius and Minimus, which lie underneath your big Gluteus Maximus.
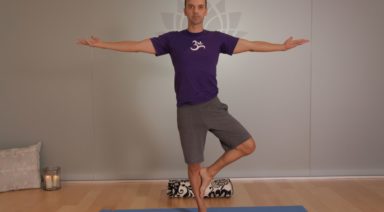
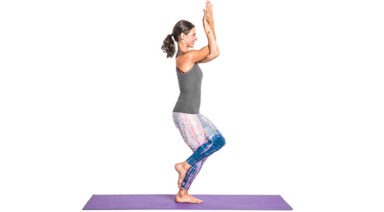
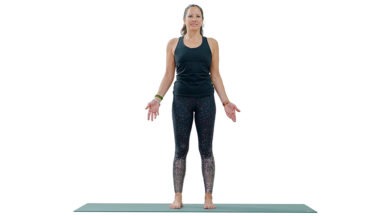
These muscles are what support and keep you steady in balance poses or when you transfer weight from one leg to the next as you walk or run. For many of us, these muscles are fast asleep, so we recruit our hip flexors at the front or our glutes and our hamstrings at the back to do a job they were not designed to do. Over time this can lead to low back pain and sacroiliac joint pain. Forcing our body to compensate will lead to problems over time. A look outside the hip Tree pose can be a simple test to see if we are accessing our side/lateral hip stabilizers.
Stand in front of the mirror and take a medium-size tree pose with your foot resting on the shin (even if you can go higher). Place your hands on your bony pelvis again and see if they are level from side to side. If not, press the shin into the foot and the foot back into the leg so that the standing hip drops to make the hips level. If this is too difficult to achieve, keep your foot off the ground but come out of tree pose so that your knee is facing forward, raised to hip level with the knee bent.
Try to level the hips again here by firmly rooting into the ground with the standing leg. My Three Favorite Lateral Hip Exercises Most of us can benefit from a little extra love and attention to the side of our hips. Try these exercises to wake up your hips and begin to stand taller on one leg
1. Kick the Ball Standing: Lift one foot off the ground. Keep your leg straight and send your heel forward, toes pointing out as if you were passing a soccer ball in slow motion. Reverse this motion by turning your toes in and sending your leg behind you. Flow forward and back, heel in and out, in a short arc. Don’t forget about your standing leg: root into the earth and don’t let the hip hitch out to the side. Repeat this motion ten times and then switch sides.
2. Clam Shell: Lie on your side with either your arm or a foam block supporting your head. Bend both hips to 90 degrees with knees bent, feet touching, stacked on top of each other. Slowly lift your top knee up towards the sky while keeping your feet together (as if you were a clamshell opening). Keep your hips stacked and avoid rotating with the pelvis. Lower, repeat times, and switch sides.
3. Bicycle: Lie on your side with both legs straight. Flex your feet, as if standing, and stack them on top of each other. Lift your top leg so that feet are hip-width apart. Keep this distance as you flow through this sequence: a) knee bent move forward to the hip at 90 degrees, b) straighten at the knee, c) float straight leg back to start. This should look like you are slowly pedaling a bike. Keep the hips stacked and stable. Strengthening our lateral hips will not only improve our yoga practice, but will also balance our body and prevent injury so that we continue to walk, vinyasa, and run for years to come.