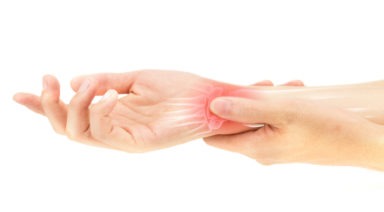
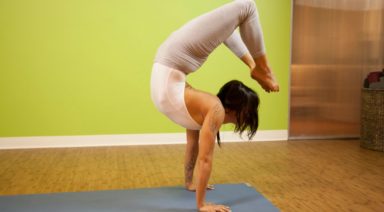
Yoga Anatomy: Avoid Hand and Wrist Injuries

Think of the number of times your hands and wrists are connected to the earth and carry your weight in a typical Hatha Yoga practice. Like our feet, our hands frequently become a crucial foundation from which our postures build and express themselves. Sustaining mindful engagement of our hands will support a life-long practice that is free of negative stress conditions and injuries to the wrist. Let’s look at some anatomical aspects to give us empowerment and motivation to explore our unique positioning and engagement of the hands and wrists.
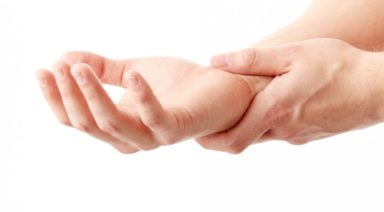
The wrists are formed by our 2 forearm bones (the radius and ulna). They meet dat the wrist joint where there is cluster of small bones (carpal bones). The carpal bones connect with 5 long bones (metacarpal bones) that make up the palm of the hand. From there, the metacarpal bones connect to the bones of the fingers (phalanges). The carpal bones form a tunnel through which tendons and nerve tissue pass to service the hand and fingers. One primary focus of hand engagement is to avoid collapsing into this tunnel and keeping excessive pressure from cascading into that track of muscle and nerve tissue.
One primary focus of hand engagement is to avoid collapsing into this tunnel and keeping excessive pressure from cascading into that track of muscle and nerve tissue.
Another key structural area to consider is the joint connection between the ulna and the carpal bones. If you turn your hand open (supination of the forearm and wrist), your ulna is the inside forearm bone (medial side). Unlike the radius (lateral or thumb side) that has a direct joint connection to the carpal bones, the ulna has indirect joint connection. Instead, there is a piece of fibrocartilage (designed to absorb stress forces) between the ulna and carpal bones along with a network of supporting ligaments – this area is called the Triangular Fibrocartilage Complex. When we look at the overall differences in joint connection, the radius also has a larger joint surface compared to the ulna. This gives indication that most people are best served to deliver a greater proportion of their force and energy through the radial side of the wrist than through the ulnar side.
How Does This Play Out in Terms of Applications?
Increase your surface area
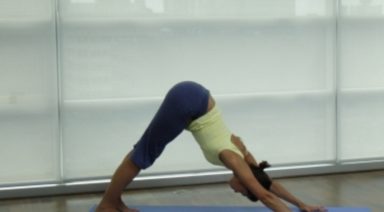
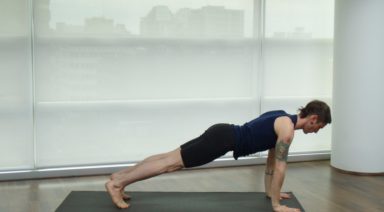
It is common in postures like Downward Facing Dog to lift the index finger pad and have the body weight fall into the outside or ulnar side of the wrist – besides shifting force away from the radial side where the wrists are better structured to receive loads, the overall surface area of the hands decreases. When surface area decreases, pressure increases (from basic physics, Pressure = Force / Surface Area) and ultimately, this increased pressure is directly into the ulnar side of the wrist. So, by keeping a rooting sensation through the index finger and thumb pads, surface area increases, pressure decreases, and we ease that overall pressure to be carried more properly through the radial side of the wrist and not have it so heavily isolated into the ulnar side of the wrist.
Play with rooting and cupping
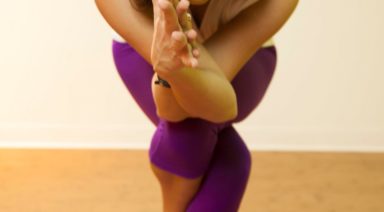
Hasta Bandha (“hand locks”) can come in many forms and techniques. While rooting through the index finger and thumb pads, also play with grounding motions through the middle, ring, and pinky fingers. Explore how you can creating a subtle lift through the palm of the hand – this cupping motion strengthens wrist muscular and takes pressure and collapse out of the carpal tunnel region. Note: when rooting through the index finger and thumb pads, this will create an inwards spiral of the forearm (pronation). Be mindful of the kinetic chain effect in your shoulder. As you pronate the wrist, try to lightly counter-spiral the upper arm bone (external rotation). This is will enhance shoulder stabilization and integrity. I find the ideal amount of pronation and shoulder external rotation will cause the crease of my elbow to look diagonally inwards towards my thumb. If the creases are looking at each other or directly forward towards the middle fingers, there may be too much of one spiral and not enough of the other.
Explore spreading of the hands and angles of the wrist
Find a balance of spreading the fingers (abduction) that creates a natural, inherent support for your wrists. Often, too much finger spreading creates unnecessary tension and rigidity. No one, specific alignment of the hands is perfect – we are all build differently, so play with how it best feels to align, angle and set the line of the fingers and wrists.
Changing hand width can do wonders
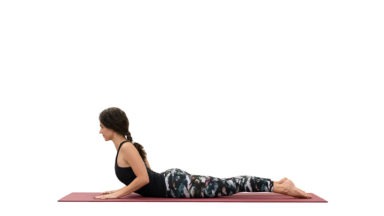
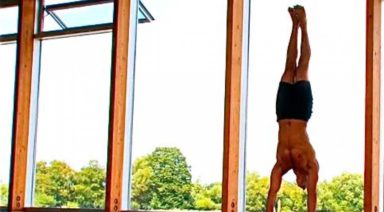
When the hands are close, we tend to have force loads bearing down more through the ulnar side of the wrist and into the Triangular Fibrocartilage Complex. When the hands are moved wider (and it doesn’t take much adjusting), force loads are often shifted more into the radial side. Give that try – do a small pushup movement with hands close versus wide and notice where the loading is most predominant in the wrist. From there, try slightly different hand widths in postures like Downward Facing Dog, Crow, and Upward Facing Dog .
How can hand width variability enhance these types of postures?
Remember that our bone structures are highly variable along with lifestyle patterns – some of us need to apply care and attention for the carpal tunnel, others for the ulnar side of the wrist, and even some of us have structural conditions in the radial side that require accommodation and modifications. There is never a need to practice with discomfort. Move and adjust to find your authentic lines of engagement. Also consider that Hatha Yoga is a means of applying ‘positive stress’ to our tissues to waken, strengthen, and expand them. But with any exercise program, a prudent approach to progressive, holistic overload of tissues (whether it be strengthening or stretching) is the incorporation of rest. Mix up your sequencing and styles of practices so that you can provide periods of rest for your hands and wrists. Mindfulness and nurturing go a long way in supporting a vibrant practice.
Consider that Hatha Yoga is a means of applying ‘positive stress’ to our tissues to waken, strengthen, and expand them.
About the Author
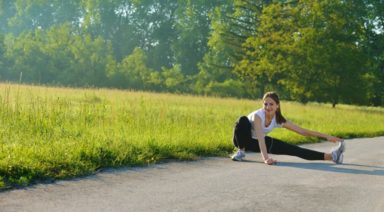
Passive Stretch to Open the Hips
Open hips are a kind of holy grail in the world of yoga. If your hips are tight some of the most basic movement in yoga will be an eternal challenge. Lotus and half lotus posture is almost taken for granted in traditional yoga practices. Not every student of yoga has naturally open hips.
Those that are born tight suffer and strive to open their hips. If you rush the process of opening the hips the weaker joints nearby, most often the knees, take the brunt of the pressure and can often end of up injured.
While it’s easy to push hard and over-exert yourself in any activity it’s harder to find the perfect balance between activation and release that will create health and healing in the body. If you have tight hips and you want them to open your mission is not to open your hips but to find that healing balance.
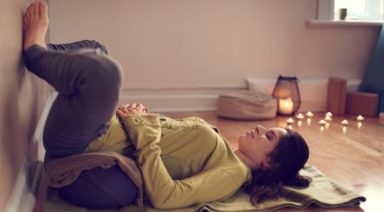
If you practice a traditionally active style of yoga like Ashtanga Yoga and your hips are tight then it can be very useful to supplement your daily practice with some additional passive stretching. There are many stretches that can help target your hips, but this one will prepare your body especially well for lotus and half lotus position.
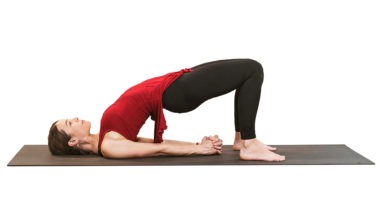
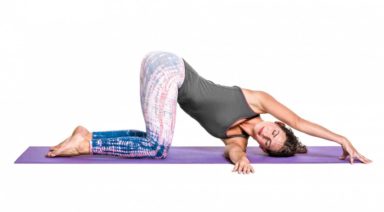
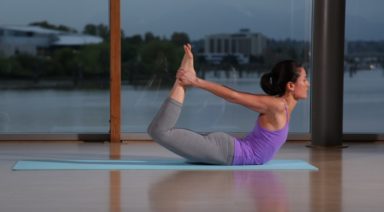
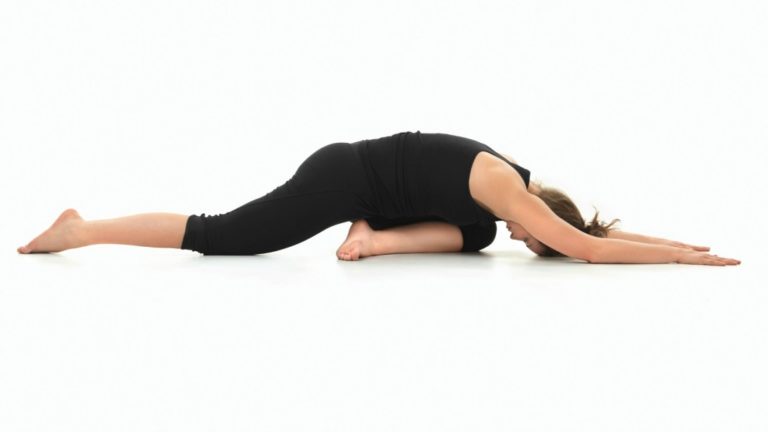
Called double pigeon, you want to go into this movement with a relaxed, almost meditative mind. Do not seek to strive or force anything. Bend both knees about half way and stack the right leg on top of the left so that the right foot is on top of the left knee and the left foot is underneath the right knee. If it’s uncomfortable to sit here then just stay in position.
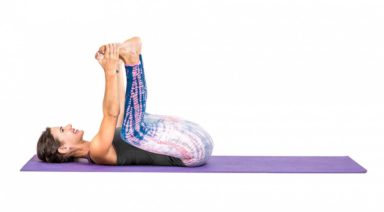
If you are comfortable fold forward and relax all unnecessary effort. Breath freely and effortlessly. Surrender your body into the floor and place your mind on the inner body. See if you can feel the external rotation of your hip joints. Place your mind deep within the pelvis and be sure not to fight or struggle with yourself. Just be exactly where you are. Hold the first side for between one and give minutes. Then switch sides.
Adding a passive stretch like this to your daily yoga practice can help relax the mind and body and balance what may be a sometimes overly aggressive attempt to force the body to open. If you do try this posture the calm, meditative mind is perhaps the most beneficial aspect of the movement.