Understanding the Sacroiliac Joint
Asana Anatomy-Understanding the Sacroiliac Joint
Controversy does not often strike the yoga community. Non-harming, truthfulness, and loving kindness are not very controversial concepts. Yet the poor, barely mobile, sacroiliac joint has become the center of a yoga debate – to square or not to square the hips. Ok, so it is not as racy as a celebrity feud, but it may affect your personal yoga practice.
Let’s dissect this joint.
The two sacroiliac joints (SI joint) are formed by three bones: the triangular sacrum bone, and the two wing like bones of the pelvis known as the ilium. Each iliac bone (one half of the ilium) comes in contact with one side of the sacrum, forming two SI joints. This connection is like three puzzle pieces fitting together known as form closure. Form closure creates stability, keeping the pelvis together in one unit. The SI joint itself is shaped like a boomerang with two arms at 90 degrees to each other. The upper portion lies in an up-and-down orientation and the lower portion lies in a front-to-back orientation. The surface of the joint is covered in coarse cartilage, adding friction and contributing to the force closure.
The sacrum moves in nutation (forward) and counter nutation (backward) in relation to the ilium. The sacrum can move only on one side, like in lifting one leg, or both sides, like when we move from lying to standing. This movement is very small, amounting to 1 or 2 mm of motion in either direction. As we age, the sacrum becomes wedged increasingly forward, but this doesn’t fully happen until we reach our 30’s. This wedging increases the resistance to shearing (twisting) forces across the sacroiliac joint. Herein lies the problem. The SI joint is a joint that is intended to provide stability for the pelvis, and is not built to move.
The SI joint has another mechanism of stability – force closure. This is the stability created by the action of the core musculature that has attachments into the SI joint – namely, the muscles of the pelvic floor, and the transverse abdominis. Conveniently, we can access these muscles through the activation of the bandhas or energy locks in yoga. In mula bandha we imagine a subtle lifting up of the muscles we use to control the flow of urine. In women, activation of this musculature has been shown to provide force closure for the SI joint. In uddiyana bandha, we draw the lower belly in and up, activating the transverse abdominis muscle. For this version, the scooping of the lower belly needs only to be subtle, and slightly flattens out the lower abdomen.
Hip Opening or Sacroiliac Opening?
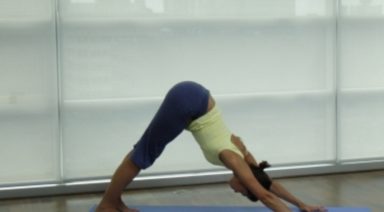
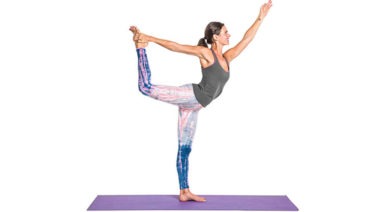
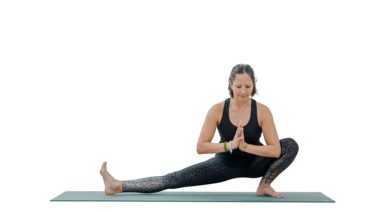
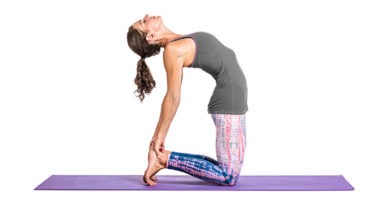
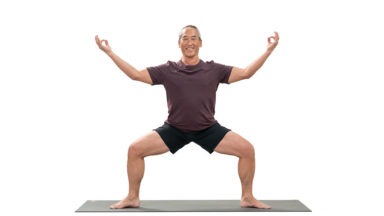
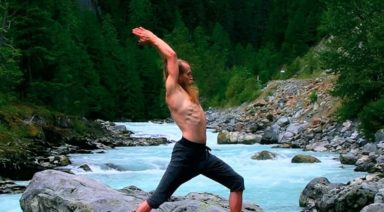
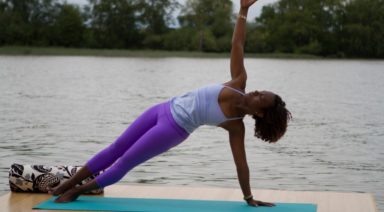
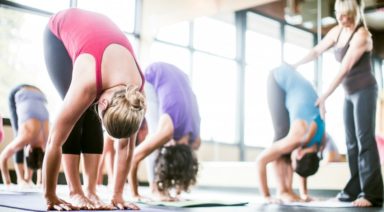
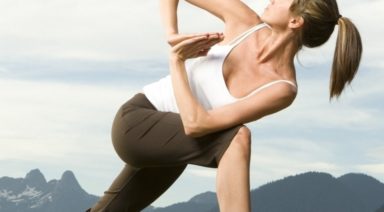
Many of us identify ourselves as having “tight hips”. For many, this means a lack of external (outward) rotation at the hip joint. Using the example of Virabhadrasana I or Warrior I pose, our front hip is in a flexed position with toes pointing straight ahead. Our back foot is on the floor at a 45 degree angle, and in order for the points of our hips (our iliac crests) to face toward the front of the mat, our back hip needs to extend, and externally rotate. If we look deep inside we see that these actions require our sacrum to nutate forward on the side of the lead leg, and counter nutate backward on the side of the rear leg. If the rear hip resists external rotation in order to square the hip points forward a twisting or shearing force is introduced across the SI joint. Over time this can lead to irritation, hypermobility, and dysfunctional firing patterns of our pelvic musculature.
Happy Sacrum
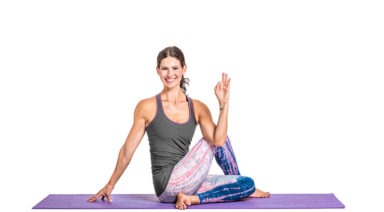
This situation is an opportunity to practice ahimsa or non-violence towards our SI joints. There are a few ways you can diminish the shearing force across the SI in standing poses. The first is to take a slightly wider stance, opening your feet to hip width (rather than heel to arch or heel to heel). This enables your pelvis to comfortably square forward. Another option is to keep the feet as they are and simply allow your pelvis to be slightly open to the side of your mat. That’s right, let go of the desire to perfectly square your pelvis forward. Instead, imagine the hip bone in its socket, outwardly rotating. Keeping that rotation, tuck the tailbone under slightly, creating room in the front of the hip. You may find that this provides more freedom of movement and may naturally square your hips further. In standing and seated twists, be sure to engage the muscles of the pelvic floor (mula bandha) to support the SI joint before twisting.
When we step back for a moment and acknowledge the true purpose of our yoga practice, suddenly trying to make our bodies fit a mold doesn’t make much sense. Being more forgiving and accepting of our bodies limitations enables us to go much deeper into our yoga practice and experience the joy of yoga safely. Now that doesn’t sound controversial at all.
About the Author

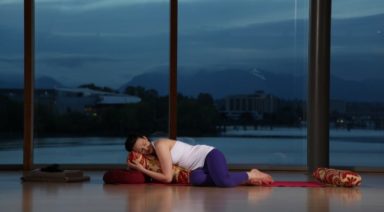
Passive Stretch to Open the Hips
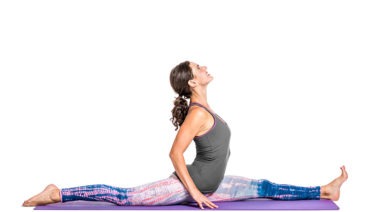
Open hips are a kind of holy grail in the world of yoga. If your hips are tight some of the most basic movement in yoga will be an eternal challenge. Lotus and half lotus posture is almost taken for granted in traditional yoga practices. Not every student of yoga has naturally open hips.
Those that are born tight suffer and strive to open their hips. If you rush the process of opening the hips the weaker joints nearby, most often the knees, take the brunt of the pressure and can often end of up injured.
While it’s easy to push hard and over-exert yourself in any activity it’s harder to find the perfect balance between activation and release that will create health and healing in the body. If you have tight hips and you want them to open your mission is not to open your hips but to find that healing balance.
If you practice a traditionally active style of yoga like Ashtanga Yoga and your hips are tight then it can be very useful to supplement your daily practice with some additional passive stretching. There are many stretches that can help target your hips, but this one will prepare your body especially well for lotus and half lotus position.
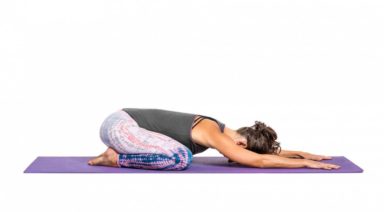
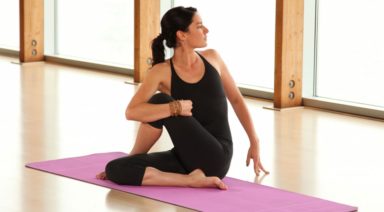
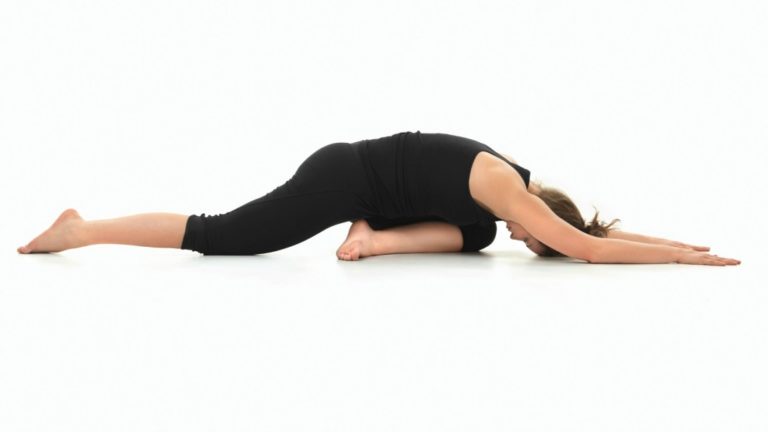
Called double pigeon, you want to go into this movement with a relaxed, almost meditative mind. Do not seek to strive or force anything. Bend both knees about half way and stack the right leg on top of the left so that the right foot is on top of the left knee and the left foot is underneath the right knee. If it’s uncomfortable to sit here then just stay in position.
If you are comfortable fold forward and relax all unnecessary effort. Breath freely and effortlessly. Surrender your body into the floor and place your mind on the inner body. See if you can feel the external rotation of your hip joints. Place your mind deep within the pelvis and be sure not to fight or struggle with yourself. Just be exactly where you are. Hold the first side for between one and give minutes. Then switch sides.
Adding a passive stretch like this to your daily yoga practice can help relax the mind and body and balance what may be a sometimes overly aggressive attempt to force the body to open. If you do try this posture the calm, meditative mind is perhaps the most beneficial aspect of the movement.