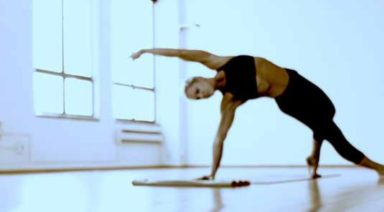
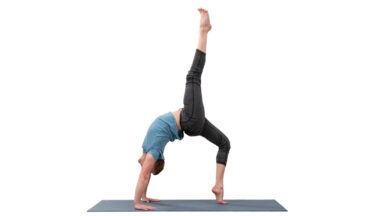
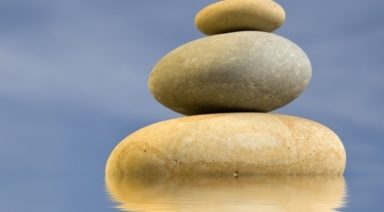
5 Tips to Balance in Handstand
Almost no yoga pose brings as invigorating, fun and light-hearted joy as balancing in Handstand. When we can’t balance, though, it’s frustrating and a true test of yogic mindfulness. For the intermediate practitioner who’s already familiar with Adho Mukha Vrksanasa (Handstand), there’s a multitude of things to do to make balancing in it easier. These are a few favorites to get you away from the wall and out into the middle of the room.
- Stretch Your Legs and Hips First.
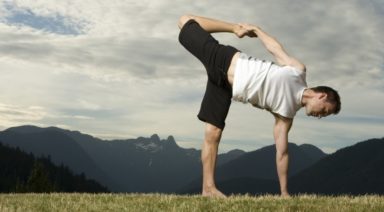
A crucial component to balancing in Handstand is to stack our center of gravity, in this case, the pelvis, over the balance point between our hands. Without limberness in the legs and hips, getting the pelvis up over the hands is much more difficult. It also requires more effort to kick up if we feel stiff and tight.
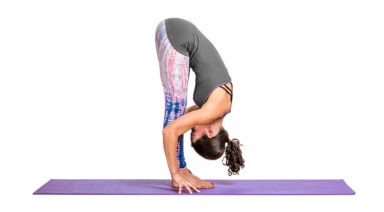
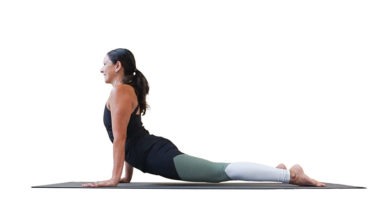
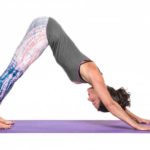
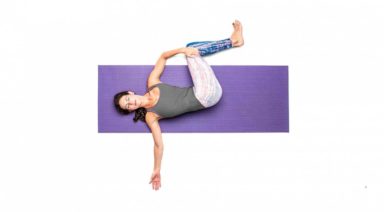
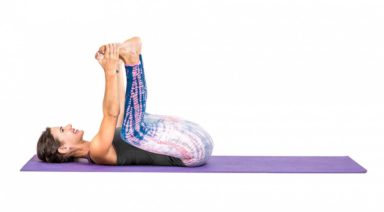
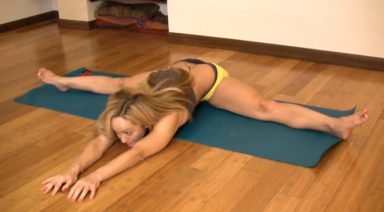
A few great yoga poses to open the legs and hips are: Uttanasana (Standing Forward Fold), Adho Mukha Shvanasana (Downward Dog), Parsvottanasana (Pyramid Pose), Adho Mukha Eka Pada Rajakapotasana (Downward Facing Pigeon Pose) and Supta Padangusthasana (Reclining Hand to Big Toe Pose).
- Squeeze Your Legs Straight.
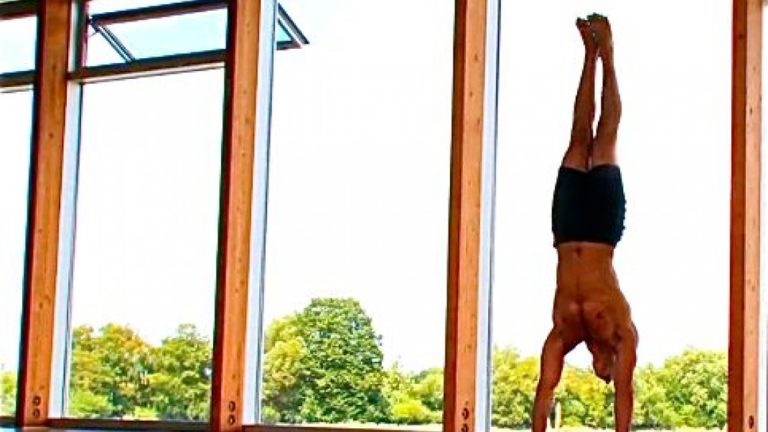
Once we kick up into Handstand, we absolutely must bring our legs together and straighten them. Floppy legs and separated feet make Handstand feel heavy; the result places the workload too much into the arms. Powered up legs, squeezed together and reaching for the sky brings more of our bodies into the pose. It also creates length, lightness and openness in Handstand, all of which make it easier to balance.
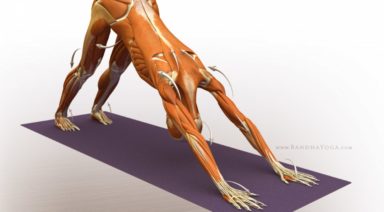
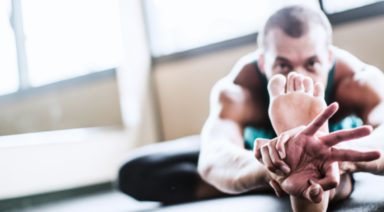
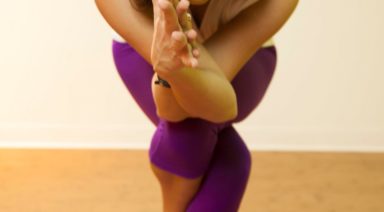
- Work Your Hands and Feet.
The hands and feet are such small parts of our bodies, but what we do with them makes a huge impact on how long and easily we can balance in Handstand. First, we need to spread our fingers and toes so that we are fully alert and active in the posture. In our hands the weight will shift slightly between the fingers and from finger tips to heels of the hands.
To absorb the fluctuations in balance that we experience in Handstand, we have to allow for this subtle weight shift in the foundation. It’s also important, both for balance, as well as for the support of the wrists, to press down with each finger tip and all four corners of the palms simultaneously.
The feet mirror the hands and can be used to controlled and calm the normal oscillations that occur in Adho Mukha Vrksasana. Once you are up in the pose, act as if your feet are on the ceiling. Push up strongly through the soles of your feet and spread your toes to manage the wobbles that always come.
- Focus Your Vision.
Where we look in Handstand has a lot to do with our stability in the pose. If our eyes dart this way and that, it means our minds are wandering. Without focus and concentration, balance will be challenging. Look at the ground in between your hands, but slightly out in front of them. Your focal point on the ground draws an equilateral triangle; your hands form the bottom two points, where you are looking is the top point. If you tuck your chin and look between your arms it’s almost guaranteed that you’ll fall into a somersault.
- Learn to Fall Safely.
Nothing, when it comes to balancing in Handstand, will shut us down faster than the fear of falling. To keep our motivation high and our bodies safe, we must learn to fall out of Handstand without falling flat on our backs. The trick is to rotate the pelvis and windmill the legs over, one at a time, much like a cartwheel.
If you overshoot the pose, begin to shift your weight slightly more into one hand — whichever one feel most natural — than the other. Then, turn your hips out towards that side (i.e. if you leaned onto your right hand, turn your hips open to the right) and swing that leg (the right one, in this scenario) over. The second leg will follow and as it lands, shift the weight back into the feet and off the hands.
When Things Get Turned Upside Down: Yoga Inversions

You’re never more alive than when things get turned upside down.
::Malcolm Gladwell
Whether misjudging a headstand and crashing to the floor, fired from our job just when we thought we were up for a promotion or dumped after posting “in a relationship” on our social media status for all to see, nothing gets our attention like being confronted by the unexpected. Suddenly, we find ourselves in a surprising new landscape for which we weren’t prepared. We’re staring down change and wrestling with the fear that we might fall again.
The truth is we’re guaranteed to fall again…and again. Like crashing waves, challenges will crest and crumble whether we’re talking about our headstands or our lives. Personally I’ve fallen many times, certainly out of my headstand, but ultimately into a new headspace.
Inversions in Yoga
To me, inversions are a fantastic living laboratory where we can embrace and move beyond things like fear, expectation, and impatience. All at once upside down needs to become right side up, and we have to surrender our tight grip on what we think we can control. We feel tangible postural balance merge with something deeper.
Inversions are an amazing reminder that how we do one thing is how we do everything. They reveal to us that often things are not going to go as we’d planned, but they just might turn out even better that way.
Making the Leap
Starting a new job or relationship is like the leap of faith it takes to turn upside down in a handstand. Though initially our jump may resemble a first handstand in an unfortunate bra, revealing things we had not hoped for…we learn as we go. Frankly, sometimes the catalysts for our evolution are pretty tits-out, upside down. But, if we move through our raw initiation and prove to ourselves a little at a time that we can do it, before you know it, whatever we were attempting becomes an important part of our personal fabric.
When we try too desperately to control the things we can’t, we become tightly wound in lopsided ways that stunt our growth and leave us miserable.
If we litter our inversions or our lives with expectation, we pin ourselves underneath frustration and impatience, which, in turn, erode the courage and humility it takes to try again.
Outcomes Are Not Guaranteed
The bottom line is we can’t control a guaranteed outcome. Even Kino MacGregor and Doug Swenson have days when they can’t balance in their handstand (albeit annoyingly infrequently). And for all of us, life can feel out of control and out of balance sometimes when it comes to work, deadlines, responsibilities, Trader Joe’s Dark Chocolate Covered Almonds, time wasted down the rabbit hole of Facebook…you name it.
The Yoga Sutras
In Patanjali’s Yoga Sutras, abhyasa (perseverant practice) and vairagya (surrendering without expectation of a particular outcome) demand that we resist the trappings of instant gratification our modern society seems to promote. And Pattabhi Jois, the father of Ashtanga yoga, stated,
Do your practice and all is coming.
He didn’t say, “Do your practice and kurmasana (flipping your feet behind your head) is coming instantly.” Nor did he promise results like millions of dollars and six-pack abs. We have to allow incremental progress to eclipse our need to accomplish the finished product. As Ralph Waldo Emerson so famously put it,
Life is a journey not a destination.
What We Can Control
There is one thing we can control, however, and that’s the accountability and integrity with which we show up — on our mat, at our job, for ourselves and for one another. Abhyasa and vairagya ask us to see balance and progress not as a single handstand, but as a part of a larger personal pilgrimage (sadhana). When we look at things through a wider lens, we can see every wobble, challenge and fall as an opportunity to learn and grow. Each time we glean a little bit more wisdom to bring to our next inversion or adventure. And as we do, we start to see that we’re never more alive than when things get turned upside down.